(It is started!)
Project Water my Plants has begun. This blog post marks the arrival of the first bits of electronics, and provides a simple overview of how the getting started with gadgeteer felt like.
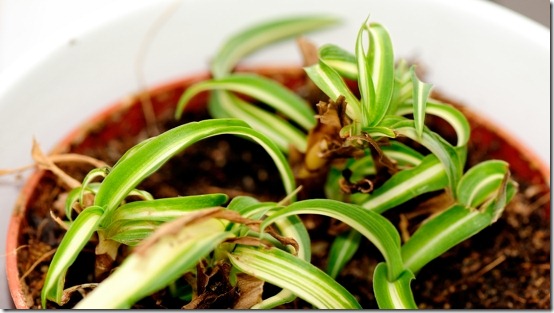
Image 1: The victim: A white stripe spider plant(Chlorophytum comosum ‘Vittatum’)
My box of Gadgeteer devices has arrived. I’ve found a suitable plant to experiment with and all of the software required to get started is now installed in two places (on my desktop and on my laptop (for field experimentation). As you can see from the brown bits, this plant is already suffering, and requires immediate attention of the highest technical quality to survive…
Overview of the project
The project has been set up using Visual Studio 2012 and will be managed by Team foundation Service, which will also function as my source control provider.
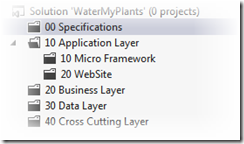
Figure 1: Overview of project layout
The project structure follows the typical N-layered approach as seen on the image above. Within folder 10.10 (Application/Micro Framework) is where the electronics software are made – the rest of the folders are hosts to the Web page and Web Services. The Specifications folder contains screenshots and some frameworks for running the project in a BDD harness using a combination of SpecFlow and CasperJs
Getting started with Gadgeteer
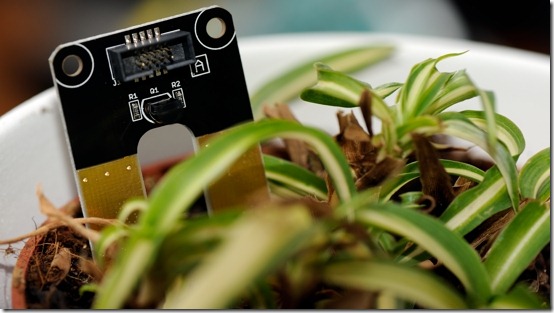
Image 2: The Gadgeteer Moisture sensor half buried in the plant soil
Installing the .Net gadgeteer project was straight forward, except for a couple of things:
Once installed, creating the project was as easy as adding a new project to the solution, choosing Gadgeteer Application and following the wizard:
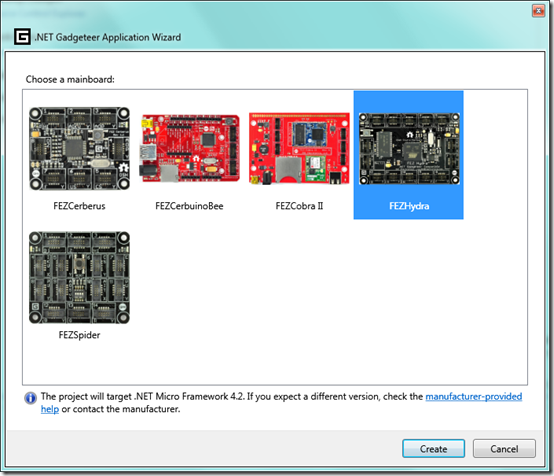
Image 3: The first page of the wizard asks what type of mainboard you have
The wizard starts by asking what type of mainboard you have, and then proceeds to create a diagram where the mainboard is visualized. From there, it is as simple as just dragging the components you want from the Toolbox onto the designer, and connecting them by clicking on the gates and drawing a line:
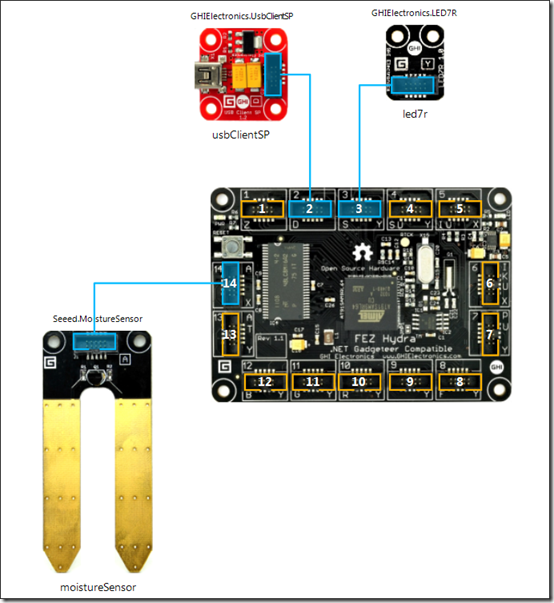
Image 4: Using the designer tool to drag the components and connect them to the board
Auto-generated code
Every time you save the designer, the auto-generated partial class Program is updated with the new components and port assignments. The generated code is clean and easy to understand. No cluttering or cryptic names here. The module names are default the same as the module type.
O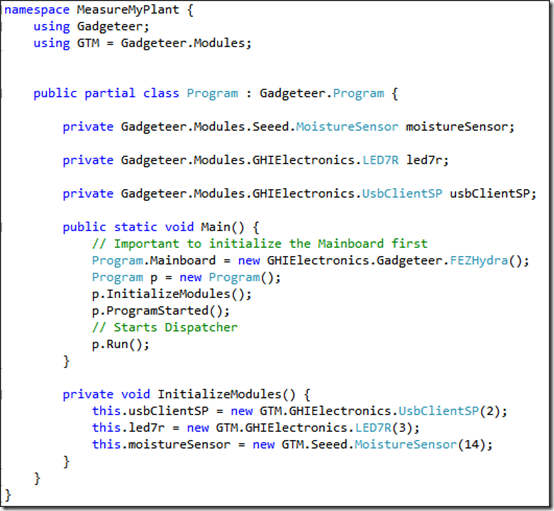
Image 5: Designer-generated code
Measure My Plant
The first batch of electronics to arrive were needed for my first application, MeasureMyPlant.exe which is a device application that is going to do two things:
- Take readings of the environment that the plant is in (moisture, light, temperature)
- Transmit data over wifi to a cloud service in Azure
Only part 1 was done in this stage, because I waited with the more expensive WiFi component to get a cheap proof of concept going. It turns out that I should’ve ordered everything at once. The electronics simply worked! Within 5 minutes of typing, I had the following program running on the Hydra board:
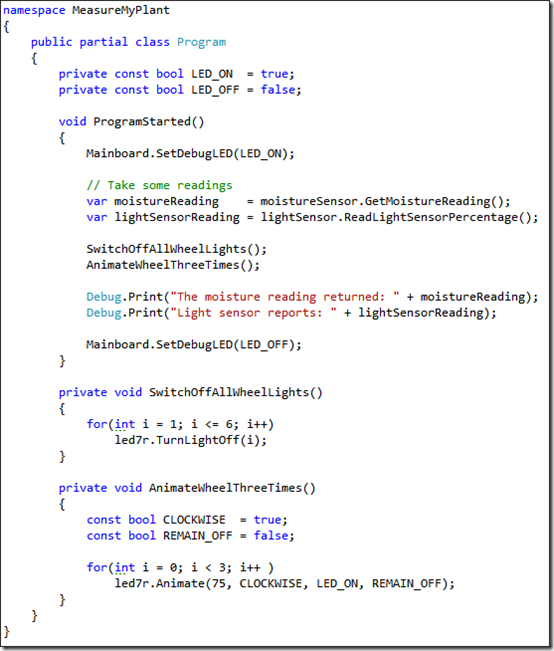
Image 6: My first running program on the hydra board
Time to order some more stuff!
I will now proceed with some of the more expensive modules. While I await the arrival of these, I will be working on the website. There may be a blogpost or two about that soon…
For now, a few more images of the protagonists of this blog post:
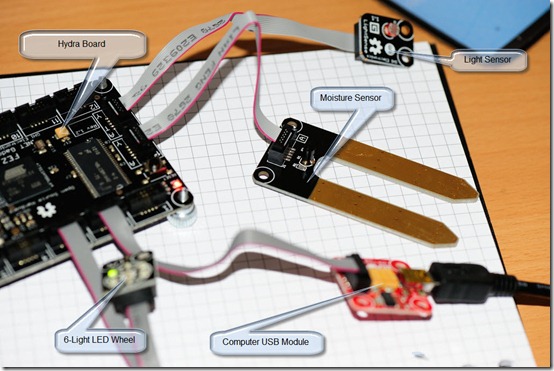
Image 7: The modules used in this blog (click for larger image)
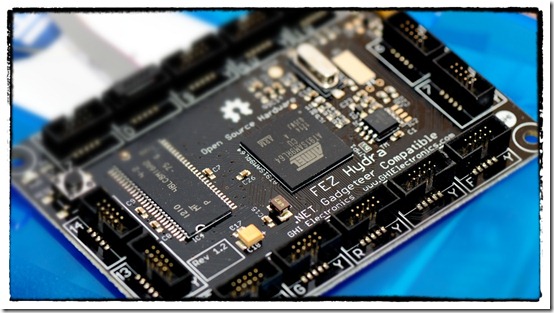
Image 8: My Fez Hydra mainboard with all the connection ports(click for larger image)

